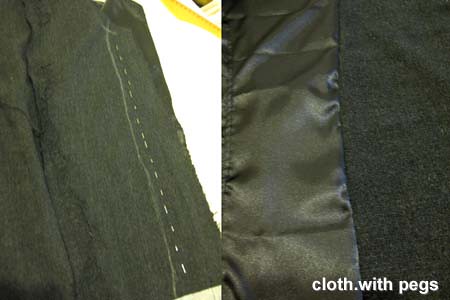
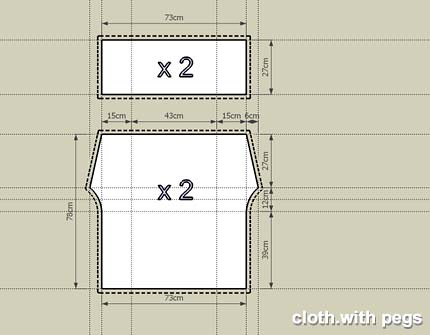
I used the leftover orange colored fabric from Irene's wrap pants, and the teal colored fabric for my wrap pants. For the feature, I used fabric 'I' from my Fabrics Galore entry. I sewed the orange-colored fabric into 3-layer 88cm(L) x 15cm(W) base. The ends were tucked in ...
 ... and sewn across the end-side. Across the 15cm width, I marked every 1cm.
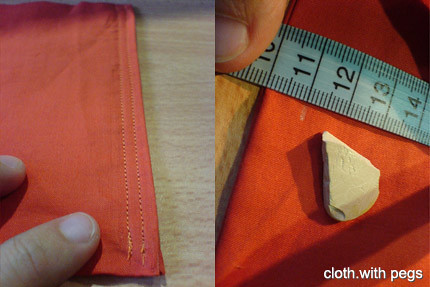 Then, I sewed the sides of the base piece, long-side, spaced at 1cm apart as marked earlier. After that, I took out the patterned fabric and measured it against the base piece.
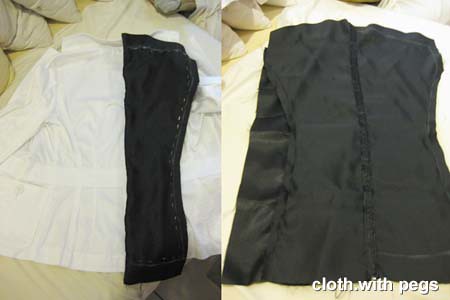
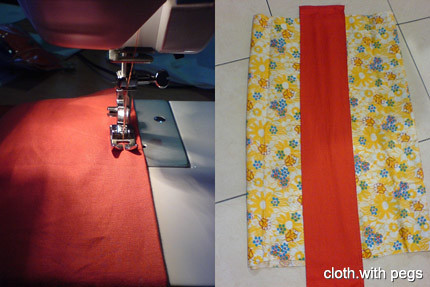 I cut the patterned fabric, to be sewn into a smaller 2-layer 72cm(L) x 13cm(W) feature piece. Later, the feature piece was pinned in place, right in the center of the base piece, and sewed both long-sides, onto the base piece.
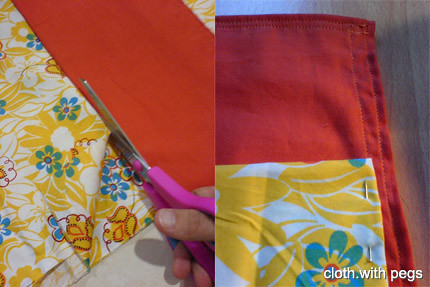 Then it was the teal colored fabric, sewn into yet another smaller 3-layer 79cm(L) x 5cm(W) belt loop. Repeated the 1cm spacing straight stitch long-side. After that, I placed it on top, in the center, of the feature piece and pinned in place. At this point, the obi-sash is taking shape.
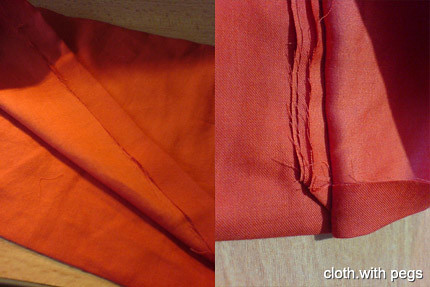
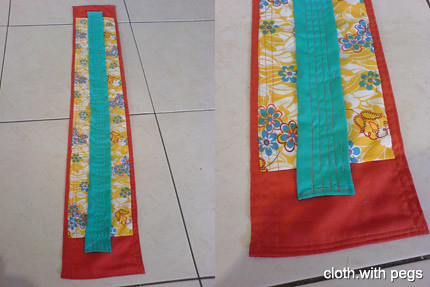 Repeated the 1cm spacing straight stitch long-side, again, but all throughout the width of the whole obi-sash. I used only the orange colored thread, so it would add to the detailing as the different types of fabric piled on.
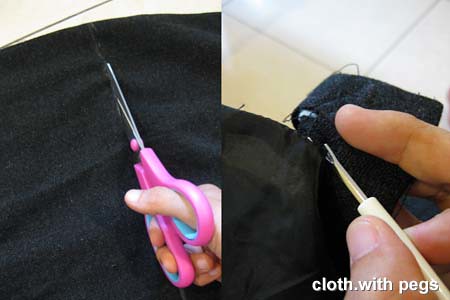
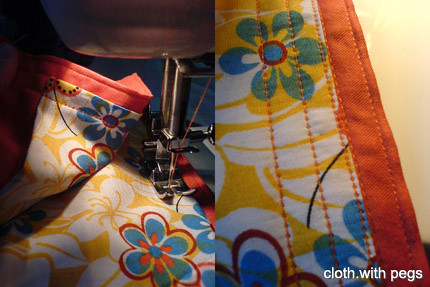 An overall view of the 1cm spaced straight stitch. When I reached the teal colored belt loop that was held in place with pins, I just stitched right across on both sides.
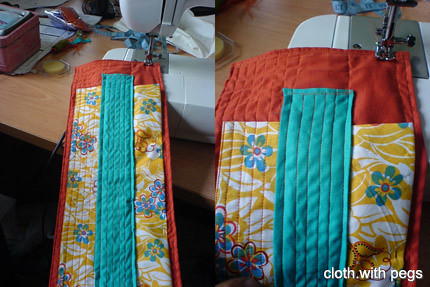 After finishing the straight stitches, I made a 2-layer 187cm long ribbon-belt from some more teal colored fabric, and stringed it through the belt loop with a big paper clip.
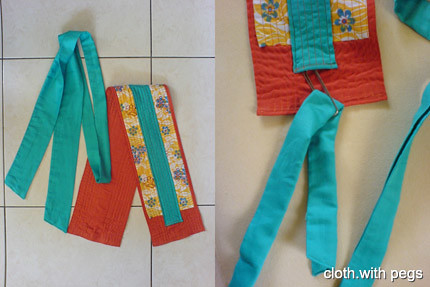 Inching the paper clip with the end of the ribbon-belt all the way through and then, centered it to exposed almost equal length of the ribbon-belt at both ends.
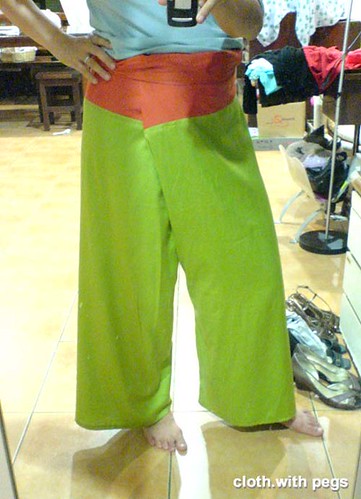
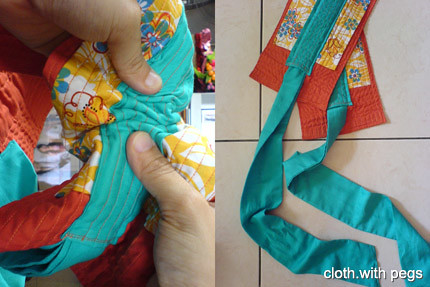 Here we are, on the first day of the Lunar calendar. I wore it with the ribbon at the back. Against my all black ensemble, the obi-belt stood out like an alarm.
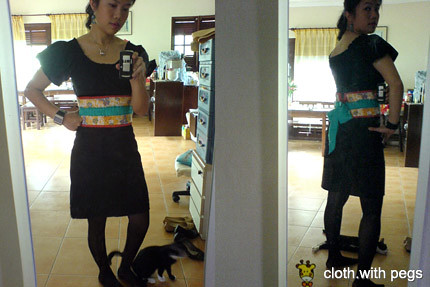 As the day progresses and a lot of foody goodies later, I swung the ribbon in front. *wink*
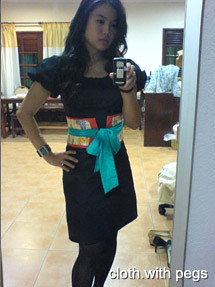 Gong Xi Fatt Chai to everyone!!!